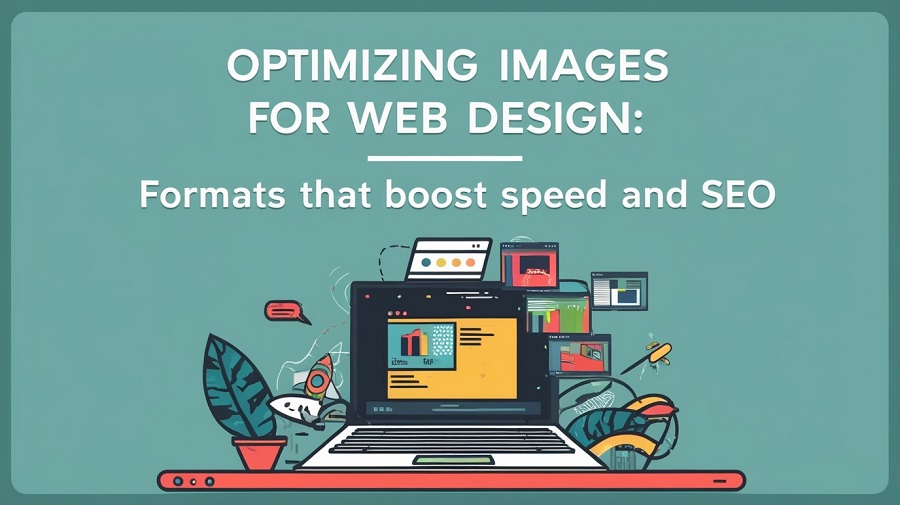
Optimizing Images for Web Design: Formats That Boost Speed and SEO
Have you ever visited a website that felt like it took a long time to load? It’s likely that you felt annoyed and just left. You’re not the only one most people won’t stick around for more than a few seconds while a site loads. And one of the main reasons websites get slow are images that aren’t properly optimized.
But don’t stress you don’t have to be a tech whiz to solve this. Whether you have a small business site, a blog or a portfolio, this guide will help you understand all the important steps to optimize images so your site loads quicker and gets a better position in search results.
Why Optimizing Images Matters
——————————
Think of your website like a restaurant. Your content is the food and design creates the atmosphere and the images serve as the menu. If the menu takes too long to show up or is cluttered and confusing than most people won’t stick around to place an order.
Here’s what happens when you don’t optimize your images:
- Your site takes longer to load
- People leave before the page finishes
- Search engines drop your ranking
- You lose potential customers or readers
The great news? Repairing your images is one of the simplest and most powerful methods to make your website faster and keep Google satisfied.
Understanding Image Formats: Which One Should You Use?
——————————
Selecting the appropriate image format is similar to choosing the right clothes. You wouldn’t wear a tuxedo to cut the grass. In the same way certain formats work well for pictures while others are more suitable for logos or icons.
JPEG (or JPG)
Best for: Photos, background images or product pictures
Pros: Good quality and small file size
Cons: No transparency
JPEG is your go-to for everyday pictures. It balances quality with speed and is supported everywhere.
PNG
Best for: Logos, graphics or images with text
Pros: High quality and supports transparent backgrounds
Cons: Larger file sizes
Use PNGs when you need a clean look with sharp edges like your logo or a button image.
WebP
Best for: Everything (if your platform supports it)
Pros: Smaller than JPEG and PNG great quality
Cons: Not 100% supported by very old browsers
WebP is like the hybrid car of image formats, efficient and fast. Most modern browsers now support it.
AVIF
Best for: Cutting-edge performance
Pros: Even smaller than WebP
Cons: Not supported everywhere yet
AVIF is still pretty new but it’s great if your website platform or CMS (like WordPress or Shopify) supports it.
SVG
Best for: Icons, logos and illustrations (not photos)
Pros: Scales without losing quality and super lightweight
Cons: Not for real-life images
SVGs are like vector superheroes. Perfect for flat graphics and logos and they look sharp on any screen size.
How Image Size Affects Loading Speed
——————————
Think about trying to lift a big refrigerator up a set of stairs. That’s how your website feels every time it has to load a huge image.
Large images = heavy files = slower websites.
And speed matters. A one-second delay in page load time can mean:
- 11% fewer page views
- 7% loss in conversions
- Lower search engine rankings
The main point is If your images are too large you are actually driving visitors away.
The SEO Side of Image Optimization
——————————
Google aims to provide the best content quickly. If your website is slow due to large images it negatively impacts your SEO.
Optimized images help with:
- Faster page load speed (a ranking factor)
- Lower bounce rates (people don’t leave right away)
- Better mobile performance
- Higher chances of showing up in Google Images
Also Google “reads” the names of your image files and the alt text so how you name your images is important for SEO (we’ll talk more about that soon).
Step-by-Step: How to Optimize Images Without Being a Tech Whiz
——————————
You don’t have to have expensive software or know how to code. You can convert JFIF to JPG online without downloading any software. Here’s an easy method you can use each time:
1. Pick the Right Format
We already covered this. Just remember:
- Photos = JPEG
- Graphics or transparency = PNG or SVG
- Speed = WebP or AVIF
2. Resize Before Uploading
Don’t upload a 5000-pixel image if you only need it to be 800 pixels wide.
Tools:
- Canva (great for beginners)
- Preview (Mac) or Paint (Windows)
- Pixlr (free online editor)
Aim to keep image widths under 1200 px unless you’re using them as large banners.
3. Compress the File
This means making the file size smaller while still keeping good quality. Compression can reduce your images by 40–80% without affecting their appearance.
4. Use Descriptive File Names
Instead of using names like IMG_0038.jpg for your images try naming your file something like chocolate-chip-cookie-basket.jpg.
Why it matters:
- Google understands what the image is
- Helps with SEO
- Makes your files easier to manage
5. Add Alt Text
Alt text which stands for alternative text, appears when an image fails to load and it also assists users who are visually impaired. Additionally, it serves as a subtle method to enhance SEO.
Good alt text examples:
- “Black leather wallet on wooden desk”
- “Smiling dentist with patient in modern office”
Bad examples:
- “Image123.jpg”
- “Wallet buy now free discount leather best”
Keep it clear, accurate, and natural.
6. Make Images Responsive
This simply means that your pictures need to look nice on phones, tablets and computers. Most current website builders (such as Squarespace, WordPress and Wix) take care of this for you.
But here’s an easy tip: avoid using huge desktop images on mobile devices. They will make everything slower. If your website allows it, upload different versions for mobile and desktop.
Real-World Example: Before and After Optimization
——————————
Let’s say you have a homepage with five big images:
- Each one is 2MB
- That’s 10MB total (yikes)
After resizing and compressing:
- Each image is now 300KB
- Total = 1.5MB
Your website can load up to 7 times quicker, and your Google PageSpeed score improves a lot. That’s what image optimization can do.
File Size Guidelines: How Small is Small Enough?
——————————
There’s no magic number, but here’s a helpful cheat sheet:
| Image Use | Max File Size |
| Hero/Banner Image | Under 500 KB |
| Blog Post Image | Under 300 KB |
| Thumbnail/Icon | Under 100 KB |
| Background Images | Under 800 KB |
Aim to keep the total size of your page (including all images) below 2MB so it loads faster.
Common Mistakes to Avoid
Let’s save you from some beginner headaches:
- ❌ Directly uploading original photos from your phone (they’re way too large!)
- ❌ Using PNG files for pictures instead of JPEGs
- ❌ Naming files like IMG2023_01.jpg
- ❌ Forgetting to add alt text
- ❌ Using the same large image for both desktop and mobile
- ❌ Believing that compression makes images look blurry (it usually doesn’t!)
Bonus Tips: Go the Extra Mile
Want to get even more out of your images? Try these:
- ✅ Take advantage of lazy loading (most website builders include this feature now)
- ✅ Include captions below images to provide context
- ✅ Utilize image sitemaps if you have many graphics (this is especially useful for stores or portfolios)
- ✅ Regularly check your site and update old images for better optimization
Conclusion
Making images better isn’t as hard as it seems. It’s a bit like cleaning your room. Just a bit of time and work can really help.
By choosing the best format, reducing your file sizes, and adding good alt text, you can make your website quicker, more user-friendly and more likely to appear on Google.
Keep in mind, every second is important. And every image is significant.
So, the next time you add a picture, take a moment to optimize it. Your visitors and your search rankings will appreciate it.