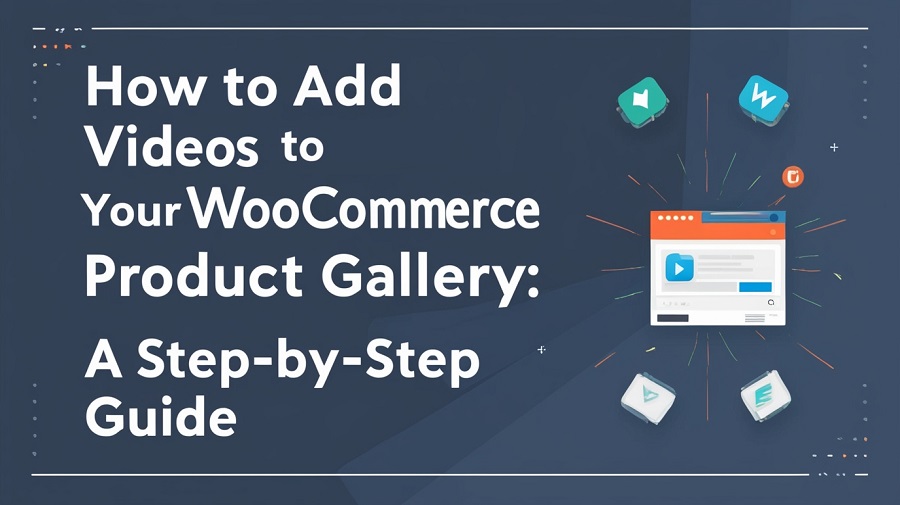
How to Add Videos to Your WooCommerce Product Gallery – A Step-by-Step Guide
Adding videos to your WooCommerce product gallery can make your online store more engaging and informative. In WooCommerce, a product video gallery lets you showcase videos alongside images on your product pages. Using the official WooCommerce Product Video Gallery plugin (aka Add Featured Videos in Product Gallery), you can easily upload video files or embed videos from YouTube, Vimeo, and other platforms. In this guide, we’ll walk through why videos help, how to install the plugin, add videos (by upload or link), and some customization tips. By the end, you’ll know exactly how to build a rich, multimedia gallery for your products.
Benefits of Adding Videos to Product Gallery
——————————–
Product videos are a powerful way to boost customer interest and sales. Key benefits include:
- Clear product demos: Videos let you show how a product works or looks in real life. This helps explain features more clearly than images or text alone.
- Higher conversions: Shoppers who watch product videos are much more likely to purchase. For example, one study found 73% of consumers were more likely to buy after viewing a product video. In fact, viewers were up to 85% more likely to buy than those who did not watch.
- More add-to-carts: Pages with videos see about 37% more “add to cart” conversions compared to pages without. Another statistic shows video viewers are 144% more likely to add an item to their cart.
- Engagement and trust: Product videos help keep customers on your site. Over half of shoppers say product videos make them feel more confident about a purchase. Customers also tend to trust brands that offer detailed video demos.
Adding a video to your woocommerce product video gallery not only educates customers, but also showcases your professionalism, leading to higher engagement and sales.
Step-by-Step Guide Using the WooCommerce Product Video Gallery Plugin
——————————–
The WooCommerce Product Video Gallery Plugin makes it easy to attach videos to products. Here’s how to set it up and use it.
Installation
- Download the plugin: First, purchase and download Add Featured Videos in Product Gallery from WooCommerce.com. You’ll get a .zip file for the plugin.
- Upload and activate: In your WordPress admin, go to Plugins > Add New > Upload Plugin, select the downloaded .zip file, and install it. After installation, click Activate to enable the plugin.
- Verify settings tab: Once active, a new Featured Video tab will appear under WooCommerce > Settings. You can configure global video settings there, but we’ll focus on product-level steps next.
Uploading Videos
- Edit a product: In WooCommerce admin, go to Products > Edit the product you want to add a video to. Scroll down to the Featured Video section (usually below the product data area).
- Enable video gallery: Check the Enable gallery box to turn on video support for that product. (If you want a single main video, you can also check Enable Featured Videos to make it the primary thumbnail on shop pages.)
- Upload video file: Click the Upload Videos This opens the WordPress media picker, where you can upload a video file from your computer. The plugin supports common formats like MP4, MKV, AVI, MOV, FLV, and WMV. Select your video and add it. You can upload multiple video files, which will all appear in the gallery.
- After uploading, you can set a thumbnail image for the video in the gallery if needed. This thumbnail shows before the video plays.
- If you have several videos, use the Enable Sorting checkbox and enter sort order numbers to control their order in the gallery.
Embedding from YouTube/Vimeo
- Add video link: Instead of uploading a file, you can embed videos by clicking Add Video Link in the Featured Video section.
- Paste the URL: In the link field, paste the URL from a supported site (YouTube, Vimeo, Dailymotion, etc.).
- Save: The plugin will automatically fetch and embed that video into your product gallery. It will play the video in the gallery or use it as the featured video if you’ve selected it as the primary thumbnail.
Embedding is easy – just copy the share link from YouTube/Vimeo and paste it into the Link field. For example, choosing “Custom URL” and pasting a YouTube link will replace the default image with that video. Both uploads and embeds can be used together: you might upload a demo video and embed a customer testimonial video, all in one gallery.
Customization Tips
After adding videos, you can tweak how they appear and behave:
- Gallery layout: Go to WooCommerce > Settings > Featured Video > General Settings. Here you can choose the slider style (horizontal or vertical) and enable autoplay, mute the video sound, or loop the video. For example, checking Autoplay will start the video automatically when a customer visits the product page.
- Video controls: You can hide the play controls or disable full-screen if desired. These options let you simplify the interface.
- Size and placement: Set the width and height for videos on both the shop page and product page. You might make videos larger on the product page for detail, or adjust dimensions to fit your theme.
- Launch Video button: Under WooCommerce > Settings > Featured Video > Launch Video Button, you can enable a “View Video” or “Launch Video” button on shop pages. Customize the button text and color so customers know they can watch the video from the catalog or product listing.
- Mix with images: The plugin lets you have both images and videos in your gallery. Customers can click through photos as usual, and a video thumbnail will appear among them. When clicked, it can open the video in a lightbox popup without leaving the page.
By adjusting these settings, you ensure the WooCommerce product video gallery fits seamlessly with your theme and provides a smooth viewing experience.
Tips for Effective Product Videos
——————————–
To get the most out of your product videos, keep these best practices in mind:
- Be concise: Aim for around 30–60 seconds for a product demo. Short videos that highlight key features tend to hold attention better than long, rambling clips.
- Use high-quality footage: Ensure clear, well-lit shots. Avoid shaky or grainy video – consider using a tripod and good lighting. Professional-looking clips build trust.
- Focus on the product in use: Show your item from multiple angles, or demonstrate it solving a problem. For example, if you sell kitchen tools, show someone using the tool in a cooking scenario. This helps customers visualize owning the product.
- Include a clear message and CTA: Tell viewers what to do next (“Buy Now,” “Learn More,” etc.). Good scripts and calls-to-action can guide shoppers toward purchase. Even a simple end screen with text or voice-over invitation to shop can be effective.
- Add captions/subtitles: Many users browse with sound off. Adding captions or on-screen text ensures your message is understood even without audio. This is especially important for explaining product benefits or instructions.
- Optimize file size: For self-hosted videos, compress files to reduce loading time. Alternatively, embedding from YouTube/Vimeo offloads bandwidth to those platforms, which can improve page performance.
Overall, make your videos helpful and engaging. A friendly tone and clear visuals go a long way. These tips will ensure your videos boost interest without frustrating viewers.
Conclusion
A WooCommerce product video gallery can take your eCommerce site to the next level by making products more engaging and informative. Using the official marketplace-approved WooCommerce video gallery plugin, you can install in minutes and then upload or embed videos to any product’s gallery. The result is a richer shopping experience — customers understand the product better, trust your store more, and convert at higher rates. By following the steps above, you’ll create a dynamic product page that combines images and videos seamlessly. Start adding videos today to bring your products to life and boost your sales with the WooCommerce product video gallery plugin.
Frequently Asked Questions (FAQs)
——————————–
Q: What is the WooCommerce Product Video Gallery plugin?
A: It’s the official WooCommerce Plugin(also called Add Featured Videos in Product Gallery) that lets you display videos alongside images on product pages. This plugin adds a “Featured Video” tab in the product editor, where you can upload video files or paste video URLs. It then shows the video in the product gallery or as the main thumbnail.
Q: How do I add a video to my WooCommerce product gallery?
A: First, install and activate the WooCommerce Product Video Gallery plugin. Then edit the product, scroll to the Featured Video section, and check Enable gallery. From there, either click Upload Videos to add a local video file, or click Add Video Link and paste a YouTube/Vimeo URL. The video will appear in the product gallery once saved.
Q: Which video formats can I use in the product video gallery?
A: The plugin supports common video formats. You can upload MP4, MKV, AVI, MOV, FLV, WMV, and more. If using a self-hosted file, make sure it’s in a widely supported format like MP4. Embedding from YouTube/Vimeo also works for any content those platforms support.
Q: Can I embed YouTube or Vimeo videos in the WooCommerce gallery?
A: Yes. In the product’s Featured Video settings, choose the “Custom URL” option (or click Add Video Link) and paste the YouTube or Vimeo link. The plugin will automatically fetch and embed that video into your product gallery. This allows you to host videos on those platforms while displaying them on your site.
Q: Will adding videos slow down my WooCommerce site?
A: Video files can be large, but there are ways to minimize impact. If you upload videos, compress them or use efficient formats (like MP4). Better yet, embed videos from platforms like YouTube or Vimeo; only a small embed code loads instead of a full file. The plugin typically shows a thumbnail or “Play” button and only loads the video player when clicked. This means pages load normally, and videos play on demand, so site performance should remain fast.