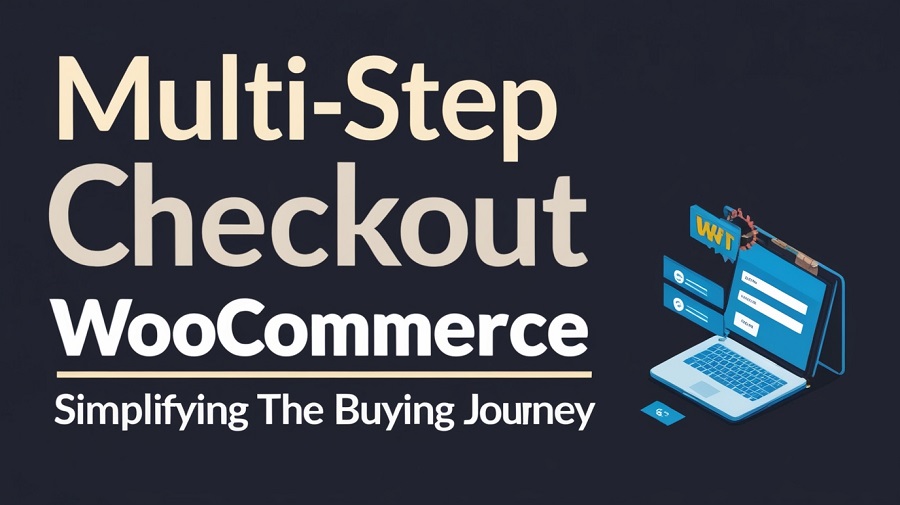
Multi-Step Checkout WooCommerce: Simplifying the Buying Journey
One of the most important steps in any e-commerce company is the checkout process. It’s the point at which all the customer’s choice-making leads to one last act: placing the purchase. Still, several WooCommerce shops miss out on possible revenue at this point because of lengthy, confusing, or badly designed checkout pages. Multistep checkout for WooCommerce comes into play here, transforming a large on-page checkout into a simplified, step-by-step process that enhances user experience and raises conversions.
Here, we will examine multistep checkout in WooCommerce, including its concept, advantages, and implementation, and how this minor improvement can greatly simplify the purchasing process.
What is Multi-Step Checkout in WooCommerce?
—————————–
Rather than trying to squeeze all the fields into one page, WooCommerce’s multi-step checkout is designed to break the process down into chunks. This method allows customers to walk through each part of the checkout process without throwing all of the details at once (invoice details, shipping options, payment options, and order summary).
Each stage might comprise:
- Step 1: Information on invoicing
- Step 2: Delivery information
- Step 3: Delivery technique
- Step 4: Choosing a payment gateway
- Step 5: Review and confirmation of order
Why should Woo Commerce employ multistep checkout?
—————————–
Here is why integrating a multi-step WooCommerce plugin will significantly boost the performance of your store:
1. Fewer Rates of Cart Abandonment
For internet merchants, a big issue is cart abandonment. The Bayard Institute reports that approximately 70% of customers abandon their carts before completing a transaction. A drawn-out or unclear checkout procedure is one of the main causes. Multi-step checkout simplifies every step, therefore lowering overwhelm and motivating finishing.
2. Upgraded User Experience
Particularly for first-time consumers, a well-organized flow improves usability. Knowing what to expect next and not being inundated with form fields increases the likelihood that customers will keep going with their transaction.
3. Interface appropriate for mobile devices
Mobile users sometimes find difficulties negotiating lengthy, single-page checkouts. The procedure is divided in a multistep design that makes it easier to swallow on smaller screens. This results in greater mobile traffic conversion rates.
4. Promotes Focus and Minimizes Mistakes
Isolating every step lets consumers focus on providing correct data. Particularly with complicated inputs like billing addresses or payment details, this reduces the likelihood of errors.
How the Official WooCommerce Multistep Checkout Plugin Assists
—————————–
Designed to fit effortlessly into your store, WooCommerce’s premium multistep checkout WooCommerce plugin is a premium solution. Designed for performance and user experience, it Let’s explore more closely how this plugin streamlines the shopping process:
1. Configurable Stages
Based on your store’s needs, the plugin lets you split the checkout process into reasonable parts. You can customize the layout by choosing which data shows on each step.
2. Smooth Integration
With the already available WooCommerce checkout fields, it works right out of the box. Installing, enabling, and setting your steps through the plugin options is all that is required; no complicated setup is necessary.
3. Theme Match
Most popular WooCommerce-compatible themes are intended to work with this plugin. This guarantees that your checkout experience keeps the same look and feel without need for custom development.
4. indicators visually
At the top of the checkout page, it features either a step indicator or a progress bar. This lowers friction and increases consumers’ confidence by helping them follow their progress and identify upcoming actions.
5. Enhanced Performance
Designed to load rapidly, the plugin is lightweight and guarantees it won’t slow your checkout page—a frequently expressed worry with other feature-heavy plugins.
Use Case Example: Streamlining Custom Orders
—————————–
Let’s say you run a WooCommerce store selling personalized gift boxes. Your checkout page includes extra fields for:
- Recipient’s name
- Gift message
- Delivery date
With a traditional one-page checkout, all this information sits alongside payment, billing, and shipping fields, cluttering the screen. With the multistep checkout WooCommerce, you can separate gift-related fields into a dedicated step. This keeps everything organized and improves the shopping experience.
How to Implement Multi-Step Checkout in WooCommerce
—————————–
If you’re ready to optimize your WooCommerce store with multi-step checkout, here’s a simple guide:
Step 1: Install the Plugin
Purchase and download the MultiStep Checkout plugin from WooCommerce.com. Then install it via your WordPress dashboard under Plugins > Add New.
Step 2: Configure Step Layout
Once activated, go to WooCommerce > Settings > Multistep Checkout. Here, you can define:
- The number of steps
- Which fields appear in each step
Labels and icons for each step
Step 3: Customize Design
Most themes will style the checkout page automatically. But if you’d like to personalize the design, the plugin provides CSS hooks and layout controls.
Step 4: Test the Flow
Before going live, test the checkout process thoroughly across devices. Ensure each step loads correctly and that no data is lost when navigating between steps.
Imagine you’re running a WooCommerce store that specializes in personalized gift boxes. Your checkout page has extra fields for:
- Recipient’s name
- Gift message
- Delivery date
In a traditional one-page checkout, all this information gets crammed in with payment, billing, and shipping details, making the screen feel cluttered. But with a multistep checkout in WooCommerce, you can neatly separate those gift-related fields into their own step. This not only keeps things organized but also enhances the overall shopping experience.
How to Set Up Multi-Step Checkout in WooCommerce
—————————–
Ready to streamline your WooCommerce store with a multi-step checkout? Here’s a straightforward guide to get you started:
Step 1: Install the Plugin
First, purchase and download the Multistep Checkout plugin from WooCommerce.com. Then, head over to your WordPress dashboard and install it under Plugins > Add New.
Step 2: Configure Step Layout
Once the plugin is activated, navigate to WooCommerce > Settings > MultiStep Checkout. Here, you can customize:
- The number of steps
- Which fields show up in each step
- Labels and icons for each step
Step 3: Customize Design
Most themes will automatically style the checkout page for you. However, if you want to add your personal touch, the plugin offers CSS hooks and layout controls for customization.
Step 4: Test the Flow
Before you launch, make sure to thoroughly test the checkout process on various devices. Check that each step loads properly and that no information is lost when moving between steps.
Tips for Getting the Most Out of Multi-Step Checkout
—————————–
If you want to get the most from your multi-step checkout in WooCommerce, here are some good practices to consider:
- Reduce the number of steps in the process: Breaking the process up is important, but you don’t want too many steps. Aim for about 3-5 steps at most.
- Use clear CTAs: Ensure buttons such as “Next Step”, “Continue,” or “Review Order” all clearly make sense and are all in a logical place.
- Offer guest checkout: Don’t require account registration. Account creation should be optional, at best, and give them the option of social login.
- Auto-fill fields: Use WooCommerce to auto-fill customer details for you, which saves everyone time on repeat purchases.
- Display trust signals: Payment security badges and clear refund policies can help ease buyer anxiety at the final step.
Final Thoughts
In today’s fast-paced e-commerce world, every tick is precious, just like every click. A messy or confusing checkout process can unravel all the hard work you’ve done to get the customer to that point. Thankfully, multi-step checkout WooCommerce plugins offer a viable, easy-to-use solution that can help reduce cart abandonment, improve sales, and create a better shopping experience.
By choosing to implement the Multistep Checkout WooCommerce plugin, you are doing more than beautifying your site; you’re also improving its productivity, usability, and customers’ confidence in you. Ultimately, whether selling digital downloads, physical goods, or custom orders, the WooCommerce Multistep Checkout plugin will provide all customers with a less confusing checkout experience.