How to Set Up a staging site for WordPress (Safe Updates, Zero Stress)
Do you know when we ask any website admin about their biggest fear, they won’t say ‘hackers’; they’ll say ‘updating a plugin on a live website.’ A single plugin update can break your layout or crash your entire managed WordPress web hosting, turning a successful site into a liability. For clients who rely on their website for leads and revenue, clicking ‘Update’ on a live site feels like a high-stakes gamble they can’t afford to.
This is where a staging site comes in. With reliable and the fastest WordPress hosting in India, you get a staging site that allows you to put your updates on a private replica of your live website. Once you are comfortable using a staging site, updating WordPress becomes a normal, everyday chore and less intimidating than you might think.
What is a WordPress staging site?
—————————–
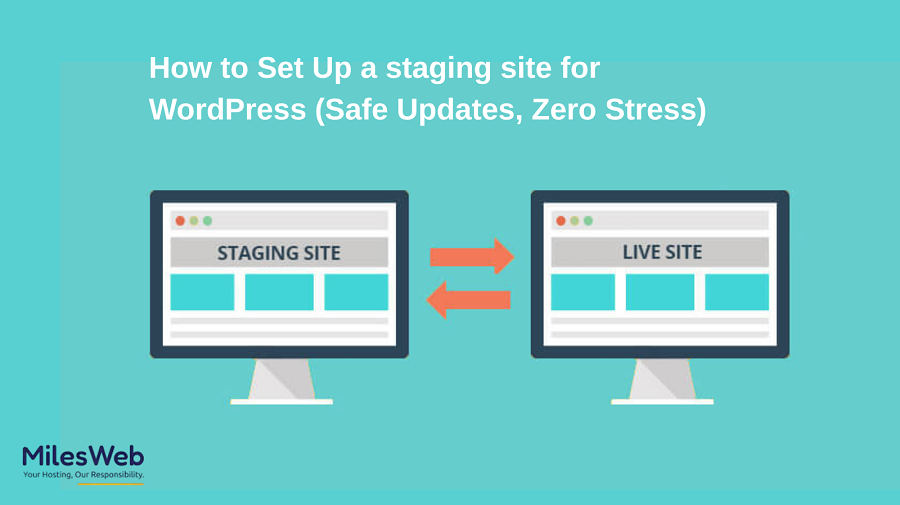
A WordPress staging site is a private copy of your live WordPress website. It has the same files, themes (design templates), plugins (add-on features or tools), and database (the area where your website’s data is stored) as your live website, but it is placed on a different server (a computer that hosts your website). This way, it’s invisible to the public, and nobody can see it until you push it live (make it visible to everyone).
Think of a staging site like a rehearsal hall. You can make adjustments to your plugins, modify themes, change/adjust code, add new features, and so on. The best thing is that you can make any adjustments without risk of breaking your live website, and once all adjustments are good, you can push them live.
Why is a staging site necessary?
—————————–
While WordPress is very flexible and allows you to create and run different types of websites, that flexibility is created through different moving parts. The main components of the system work alike, but they aren’t created by the same person or company. Therefore, an update to one theme/plugin that works on one website may not work on another website.
A staging environment is beneficial because it can help you:
- Avoid downtime on your live website.
- Identify conflicts between plugins and themes at an early stage.
- Test any significant updates to WordPress safely.
- Avoid restoration from a backup and fix problems in an emergency.
- For business websites, having a staging site is a necessity to provide protection.
Method 1: One-click staging (control panel)
The method of creating a staging site through your web host is the easiest. With modern WordPress hosting providers like MilesWeb, you get it as a one-click option in the control panel.
Follow the below steps:
- Log in to your hosting control panel dashboard.
- Select your WordPress website.
- Click Create Staging or create a staging environment.
- Wait for the staging site to be created (on average, it will take a few minutes to clone your website).
- Once done, your staging URL will appear with a complete copy of your website. (No tech skills required).
Method 2: Using a staging plugin
If your host does not have a staging option, consider using a staging plugin such as these popular ones:
- Creates an identical copy of your live site in a subfolder or a subdomain on your server.
- Protects and secures your staging area.
- Test any updates without touching or affecting your live website.
- After you install your preferred staging site plugin, it will walk you through the entire process. This can take some time, depending on the size of your website.
Using this method works well as long as your live website is stable enough to install and use the plugin.
Method 3: Manually setting up a staging site
This method is designed for advanced users, as it contains many technical concepts that might confuse those just starting.
Elements of manual setup include:
- Create subdomain accounts (they’re just another website under your website).
- Create a separate location on your server/FTP to create your staging area.
- Copying your WordPress files through FTP.
- Exporting and importing databases.
- Updating your configuration files and changing URLs.
While this method provides full control of everything, it requires a certain level of expertise and, most often, will be completed by developers or technical teams. For the majority of WordPress users, either using a plugin or the hosting company’s options will provide adequate staging.
How to use staging for stress-free updates
—————————–
Staging is at its best if you utilize it often. To include updates on your live website, first open up your staging site and then follow these steps:
- Apply WordPress core updates.
- Update your plug-ins and themes.
- Test pages/forms/checkout paths.
- Test design and performance.
If everything performed as it should, only then should you push those changes to your live website. If something breaks, troubleshoot (in a calm manner) without feeling rushed. The above process turns even a risky update process into a controlled experiment.
Pushing changes from staging to live
Depending on your website’s specific hosting solution, pushing from staging to live can either be performed simply or manually.
Most hosting solutions provide a one-click deployment option from staging to live. This will take your existing live files and replace them with the same files from staging. If you choose to do it manually, make sure you always do a fresh backup (via plugin, cPanel, or otherwise) of your live website beforehand. When deploying, only move the changed/updated files and/or database records.
You never want to skip the backup step, even if everything looks perfect on your staging site.
Some common mistakes you should avoid
- Forgetting to block search engines
- Testing using stale data in your staging site
- Making edits to content in staging that should be made in live
The more your staging site looks like your live website, the more often you should refresh it.
Concluding insights
Web owners, there’s no need to stress about updating WordPress. A majority of website issues have been caused by making updates directly on the live website with no chance to test beforehand.
Using a staging site will allow you to take a breath before updating your websites. Instead of being anxious about making updates, you can be confident and have a plan for any last-minute adjustments.
If using a staging environment is included in your workflow, then updating your websites feels safe. For all the webowners, staging sites add the safety net feeling, where businesses can be tested freely without internal issues arising.